A Gitpod workspace aims to be a no-compromise replacement for a local workspace, no matter whether you access it with a browser or via SSH with your desktop editor. Like a local workspace, a Gitpod workspace is fully customizable. This post will show you five ways to customize a Gitpod workspace.
If you are wondering why you should use Gitpod instead of your local development environment, read my post A better development workflow with disposable workspaces.
1: .gitpod.yml
You can configure Gitpod workspaces by adding a .gitpod.yml to your repository. This section
covers three configuration options. You can find an overview of all configuration options in the Gitpod docs.
Prebuilds
Creating a workspace from .gitpod.yml may take several minutes, depending on your stack. With
prebuilds, you can accelerate the launch of a new workspace. Prebuilds trigger whenever you push
code to certain repository branches. If possible, Gitpod launches a prebuild instead of creating a
workspace from scratch, which feels instantaneous. Use the github key to configure prebuilds:
# ...

github:
  prebuilds:
    master: true
    branches: true
    pullRequests: true
    pullRequestsFromForks: false
    addCheck: prevent-merge-on-error
    addComment: false
    addBadge: false
# ...For prebuilds to work, you must create a project linked to your GitHub repository in the Gitpod dashboard as explained in the docs.
Tasks
The next step is to create tasks that run when you launch a workspace. Here is an example of a task that installs NPM dependencies and launches the development server:
# ...
tasks:
  - name: Run dev server
    init: npm install
    command: npm run dev
# ...With prebuilds enabled, the init portion of the task will run during the prebuild, and the command portion will run when the workspace launches.
Ports
When you run a development server, you need to let Gitpod know the port of your server and whether a preview should be publicly accessible. For a SvelteKit app, e.g., Gitpod needs to expose port 5173:
# ...
ports:
  - port: 5173
    visibility: public
# ...Typically, you should set visibility to private. Then you have to be authenticated to Gitpod to
access the preview. But if you want an easy way to test a website on another device or you want to
share a preview with someone else, set visibility to public.
2: Workspace images
By default, new Gitpod workspaces launch with Docker image gitpod/workspace-full, which is a universal image that comes with a variety of programming languages pre-installed. Gitpod also offers specialized images, e.g., for web development, you can use gitpod/workspace-node or gitpod/workspace-node-lts. Check out this repository for a list of official workspace images.
To replace the default workspace image with a custom image, set the image key in .gitpod.yml:
image: gitpod/workspace-node-lts
# ...While you can use a custom Docker image with Gitpod, I recommend customizing an official image rather than trying to create a custom image from scratch.
Gitpod makes simple customizations of workspace images easy. If, e.g., you need an additional package on a workspace image, you can add it without being a Docker expert. In one of my recent projects, I used Turborepo to accelerate NPM tasks in a monorepo. I needed the NPM package turbo installed globally in my workspace. The solution: customize a workspace image.
You first have to declare the custom image using the image key:
image:
  file: .gitpod.Dockerfile
# ...Gitpod will then look for the Docker image file .gitpod.Dockerfile when launching the workspace. I
customized the Docker image like this:
FROM gitpod/workspace-node-lts

RUN npm i -g turboFROM indicates the image to be customized, and RUN runs the NPM command to install the turbo
package globally. Official workspace images also include Homebrew for Linux to make customizations easier. E.g.,
you could add RUN brew install pandoc to install document converter Pandoc into your Docker image with Homebrew.
3: Gitpod settings sync
VS Code offers settings sync to synchronize your workspace customizations to any VS Code instance. You can use a GitHub or Microsoft account for settings sync. But for browser-based Gitpod workspaces, you cannot use GitHub or Microsoft as a sync provider.
Since Gitpod does not run VS Code desktop in the browser, but its open-source sibling VSCodium, browser-based workspaces lack proprietary VS Code features such as using GitHub or Microsoft as a sync provider. Instead, you can use Gitpod as a sync provider.
The good news is that you can also configure Gitpod as your settings sync provider for VS Code desktop. As a result, you can synchronize your settings between browser-based and desktop-based Gitpod workspaces. Check out the Gitpod settings sync docs.
4: VS Code extensions
There is another catch with browser-based Gitpod workspaces. VSCodium cannot access the VS Code marketplace. Customizing your development experience with extensions is one of the biggest selling points for VS Code. Gitpod realized that not having VS Code extensions would be a deal breaker for many developers. Therefore, they co-created the Open VSX Registry, an alternative to the VS Code marketplace, and integrated it into browser-based workspaces.
The Open VSX Registry contains a subset of the VS Code marketplace. Many extension authors cross-publish their extensions to the Open VSX Registry, i.e., the most popular extensions are all available. But you cannot access proprietary extensions such as GitHub Copilot.
If you list project-specific extensions in .gitpod.yml, they will be automatically installed into
every workspace launched with this configuration:
# ...
vscode:
  extensions:
    - bradlc.vscode-tailwindcss
    - dbaeumer.vscode-eslint
    - esbenp.prettier-vscode
    - svelte.svelte-vscode
# ...When you access a Gitpod workspace with VS Code desktop, extensions will be installed from the VS Code marketplace and for a browser-based Gitpod workspace from the Open VSX Registry.
Install any non-project-specific extension in a Gitpod workspace with sync enabled, and it will synchronize into any new Gitpod workspace you launch.
5: Editors and Git Providers
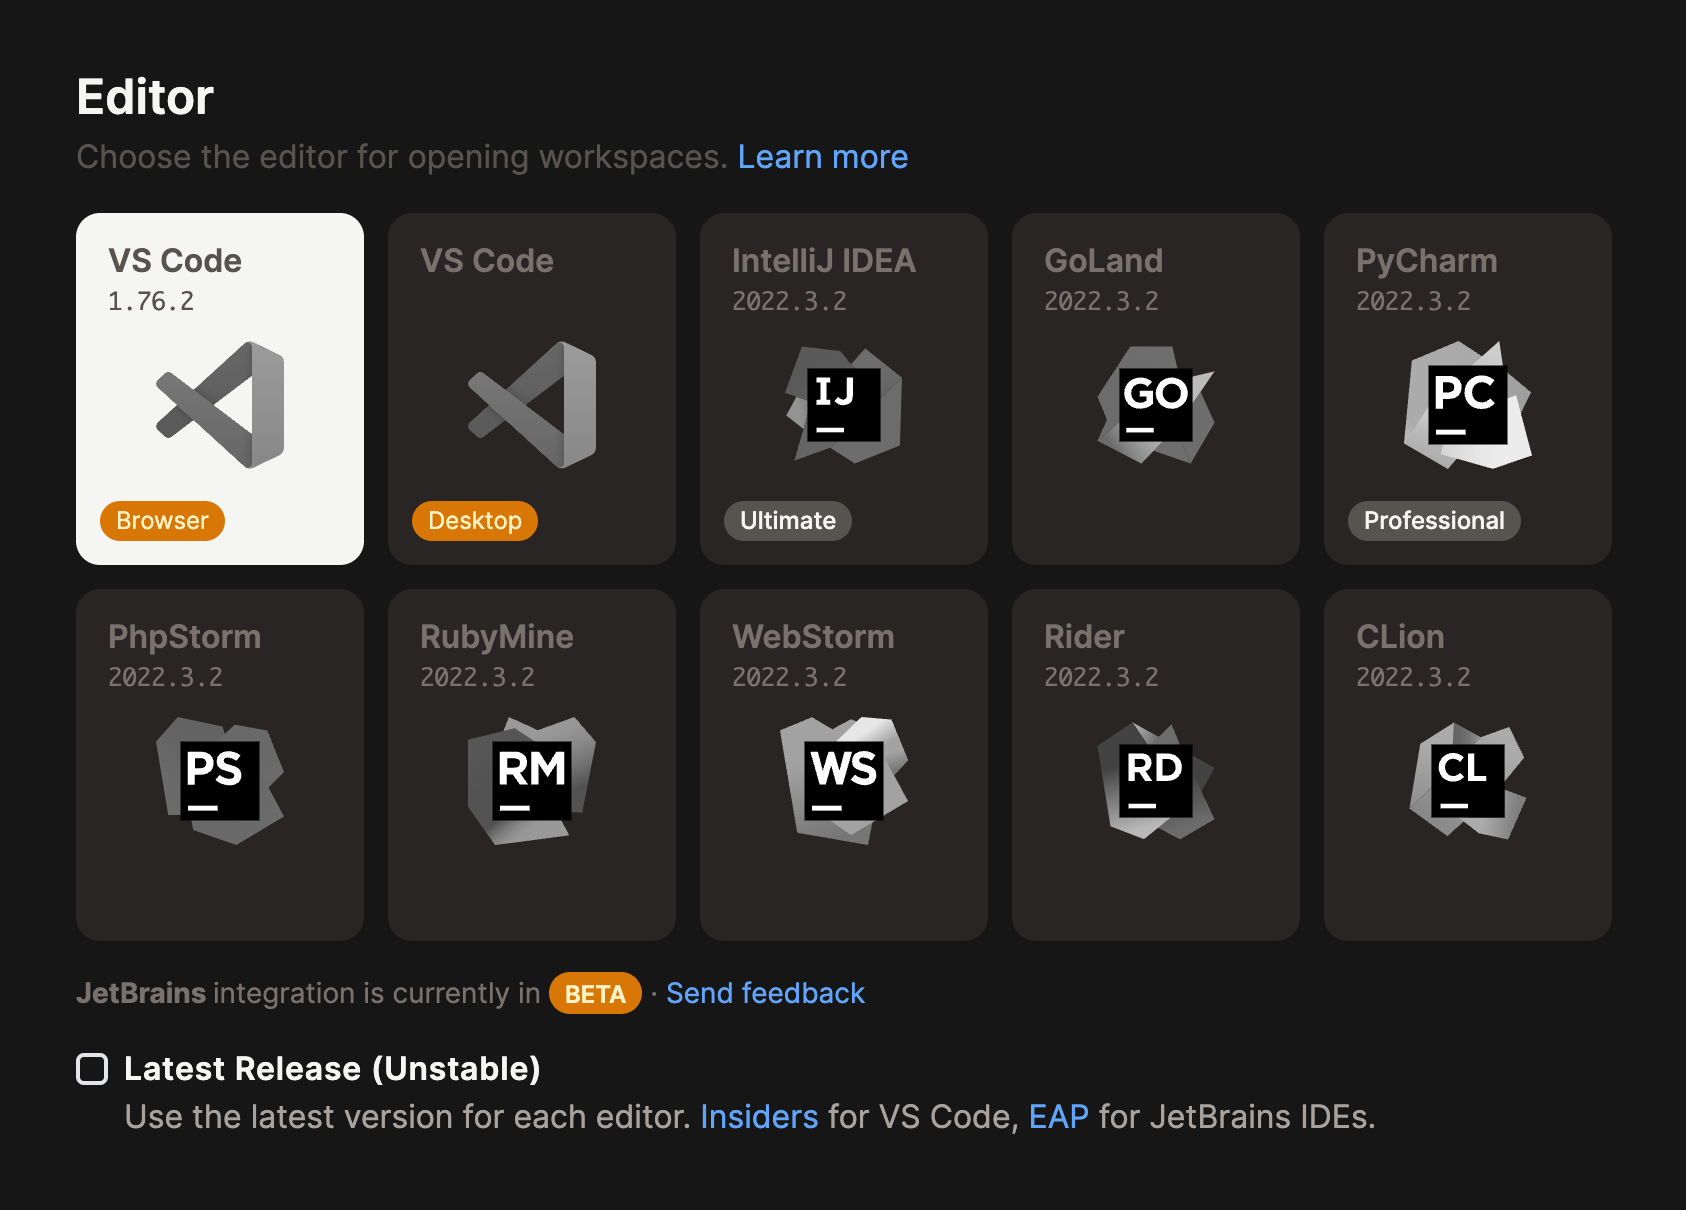
Gitpod is more than combining a virtual machine in the cloud with GitHub and VS Code. While GitHub and VS Code are popular choices, alternative Git providers and editors are available. Gitpod is the only cloud workspace that supports GitHub, GitLab, and Bitbucket as Git providers and various JetBrains IDEs:
Not all customizations covered in this post make sense with all combinations of Git providers and editors. E.g., settings sync between browser-based and desktop-based Gitpod workspaces is only relevant if you use VS Code as your editor.
Conclusion
This post covered five ways to customize a Gitpod workspace focusing on GitHub as Git provider and VS Code as editor. I have used this combination with Gitpod as my primary development environment for web development for almost two years. I have yet to encounter a scenario where Gitpod cannot replace my local development environment.
Gitpod covers numerous stacks, three Git providers, and VS Code’s main competitor JetBrains, which no other Gitpod alternative can support. With Gitpod, you can choose the development environment that works best for you.
Thanks to Pauline Narvas from Gitpod and Gitpod Community Hero Carsten Lohmann for their valuable feedback while drafting this post.